VizPaw CG Rendering Process
As much information as possible is helpful. Following are the basic information we need to start the project.
- Architectural 3D model (3ds Max, SketchUp, Revit, Rhino, ArchiCAD, etc), CAD drawing or Hand Sketch.
- Materials and furniture selection (for interior)
- Background photos or Google Maps link for context information.
Exterior Rendering Process

Step 1 3D Modeling
We assist you in choosing the best camera angle and create 3D model based on the information you’ve provided. Drafts are sent through for you to confirm the camera angle, geometry, material, hard landscape. It generally takes 2-3 rounds before moving to next stage.

Step 2 Material, Texture, Lighting & Post-Work
At this stage, we incorporate the details of your design including materials, lighting, landscape, and post-work into the image. Post-work includes rendering high res images, adding details such as people, trees, sky, cars, sidewalks, streets, greenery, lighting, activities etc.

Step 3 Final Delivery
Upon your approval, we release high resolution images on 5K pixels @72DPI without VizPaw’s watermark.
Interior Rendering Process

Step 1 3D Modeling & Texture
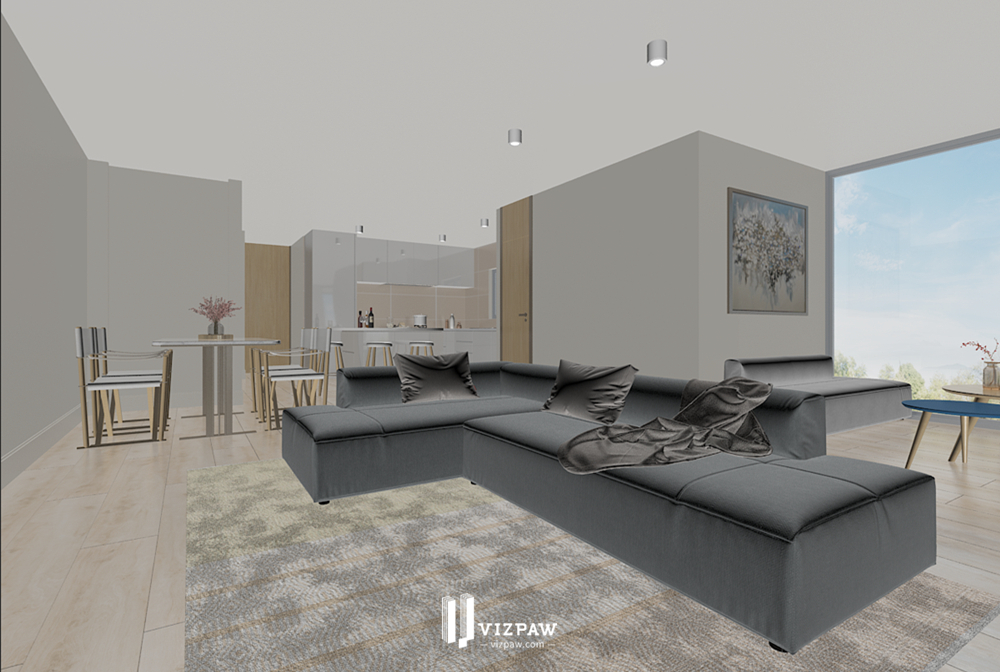
We assist you in choosing the best camera angle and mass the space out by creating 3D models of furniture based on the information you’ve provided. Drafts are sent through for you to confirm the camera angle, model and texture. It generally takes 2-3 rounds before moving to next stage.

Step 2 Lighting & Rendering
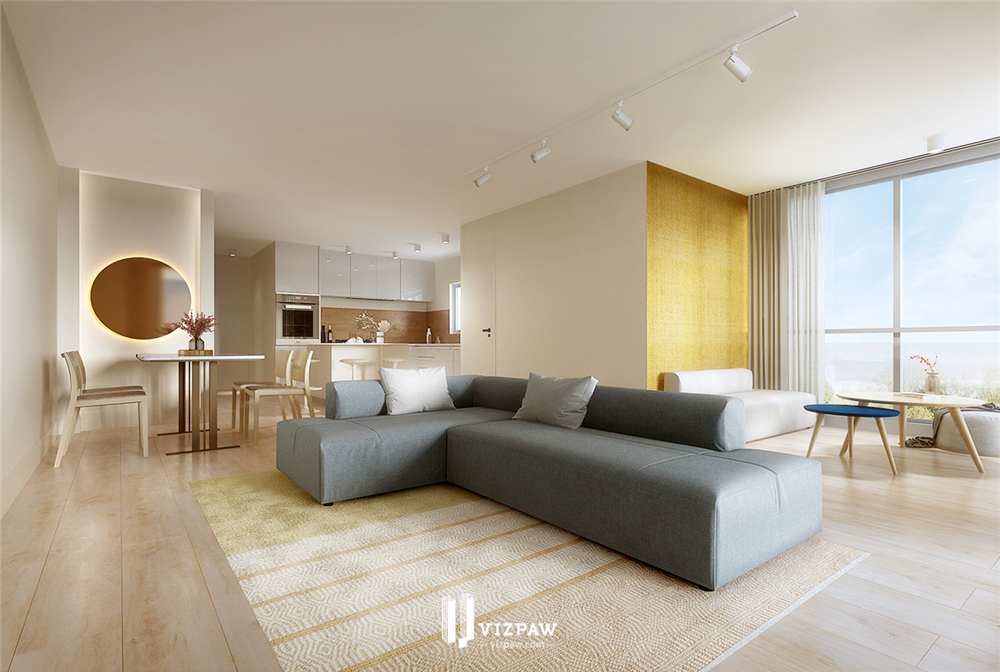
Once the camera angle, model and texture are all approved we then move forward to incorporate the lighting and further details of your design. At this stage, you can check the material, color, lighting and general feel. This process is repeated until you are happy with the result.

Step 3 Post-work and Final Delivery
The last stage is to render high resolution images and do post work upon your approval, then deliver final images on 4K pixel @72DPI without VizPaw’s watermark.
Architectural 3D Animation Process
Step 1. Modeling and Camera Path Setup
Based on the provided materials, the 3D model of the project is created, along with the camera movement path according to the client's requirements. A white model animation is rendered for review. The main tasks include:
- Creating the primary architectural model, surrounding models, and terrain.
- Defining and confirming the camera path and duration of each shot.
You need to review and confirm the completeness and accuracy of the model, material, and the camera movement and field of camera view.
Step 2. Single-Frame Rendering
The essence of 3D animation is a sequence of still images. Single-frames (also called key frames) are selected from each shot, fully rendered with details. In this phase, we refine the scene and lighting while rendering single-frame images from various lenses and perspectives. The main tasks include:
- Adding materials, lighting, landscapes, interior furnishings, people, vehicles, and other details.
- Incorporating background music.
You can review and comment on all details in the single-frames until you are happy with the result.
Step 3. Rendering Output and Post-Production
The animation is rendered and finalized with post-processing adjustments. The main tasks include:
- Rendering the full sequence frame by frame at the required resolution and frame rate.
- Exporting frames into a sequence and compiling them into an animation.
- Applying post-processing effects such as color correction, motion blur, editing, adding text, voice overs, etc.
Step 4. Final Delivery
Exporting the animation in the required resolution and formats (MP4, MOV, or AVI).
Delivering the final animation to the client.
Send us project info with your requirement to get a proposal.
Get Started